
Almost any discussion on knife sharpening will include the term “burr.” Sometimes referring to the “raising of a burr” as an evaluative technique and sometimes referring to “removing the burr” as a finishing step. Additionally, the terms “wire edge” and “foil edge’ are sometimes used as synonyms for a burr although they are typically associated with edge geometries created during the finishing stage. By any description, the presence of a burr reduces the keenness of blade and is therefore critically important to understand.
The WIkipedia page provides a definition, more relevant to machining of metal than to honing; however, the phrase “unwanted piece of material” is a key point for this discussion.
Raising a burr is accomplished by repeated abrasion (honing) of one side of the blade. The apex will bend (plastic flow) away from the surface of the hone and the burr will grow as material is abraded from the bevel face.

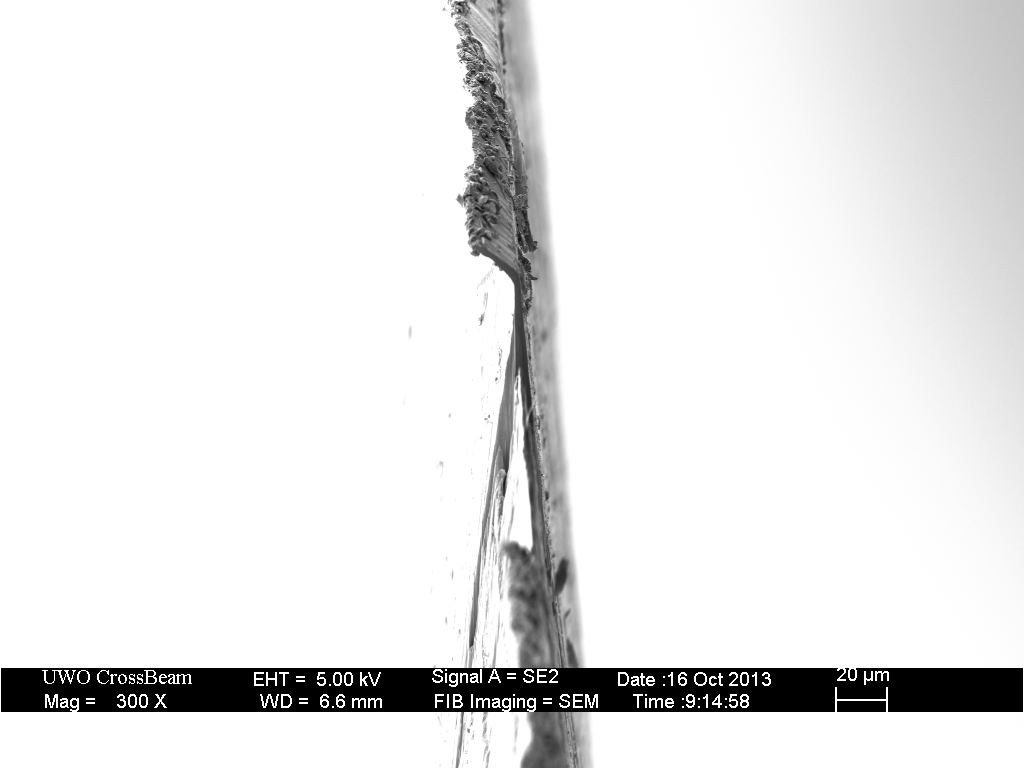

For comparison, below is an image of the same blade honed with alternating x-strokes on the same DMT1200 plate.
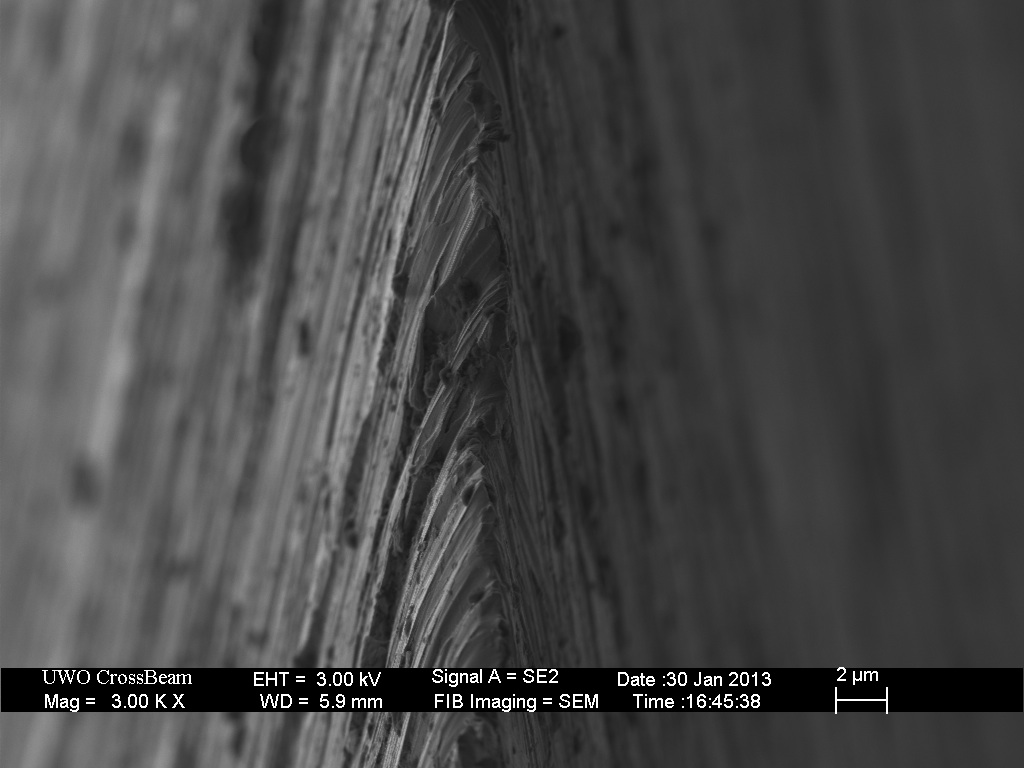
In this case, the burr does not “grow” enough during one stroke (approximately a four inch stroke with less than one pound of force) to project past the ideal apex. In fact, a raised burr is never formed during typical straight razor honing with alternating, edge leading x-strokes on a hard surface.
In future posts, I will show that the formation (and removal) of burrs during the finishing stages of sharpening/honing/stropping is more complicated, but also much more interesting.

10 responses to “What is a burr? – part 1”
Thanks for posting this! Can’t wait to see the follow up… This seems to be popping up in a few forums recently, what is the most efficient method of burr removal/minimization after you have one? 😉
LikeLike
A very complex topic; I have posted what I have assembled so far as part 2, but there will be a part 3.
LikeLike
Part 3, 10 years in the making!
LikeLike
I primarily wrote this article to lay the groundwork for an article I have been working on. But I think it is a good follow-up to the ‘what is a burr’ series.
LikeLike
People will be pointing to this Blog for years to come to explain the “unseen”. The SEM is like magic. The esoteric revelations presented here have eluded generations of sharpeners, craftsman, journeymen, and apprentice. Can you image how many craftsman and artisans of the past “ages” dreamed of seeing the apex of the edge like this and never actually had the opportunity? It’s like we just entered a “new age of enlightenment” for blades of all kinds. I am “blown away” and honored to have the opportunity to read this and “See” these images. A picture truly speaks a thousand words. If you set out to change the world of knifes, I think you have accomplished your task. I will never look at sharpening the same way again. Bravo!
LikeLiked by 3 people
[…] Dean O has an excellent video on how to detect such a burr. A burr raised on a coarse or medium stone will be quite pronounced if you’d graze it with your fingertips or nails, but he shows several other methods as well. Also, for some amazing electron microscopy pictures of burrs and other sharpness-related concepts, check out the science of sharp. […]
LikeLike
Would it be possible for you to take SEM photos of a correctly sharpened card scraper? Let me know and I can organize something to be sent your way. It’s a fascinating topic, as it’s a very different edge geometry from any knife type cutting edge.
Thanks for your time and effort to create this highly unique and instructional content. Much appreciated.
LikeLike
I do SEM imaging for a modest fee through my employer, if you are interested.
LikeLike
I can’t believe I missed that article 😅. I think that will do for now, otherwise I’ll get back to you. Thanks!
LikeLike
[…] years ago, I wrote a pair of articles – What is a burr? part 1 and part 2. These were based on results from straight razor honing experiments, where the […]
LikeLike