
In Part 1 of this series, I showed that, contrary to myth, honing rods (including smooth honing steels) restore cutting efficacy by removing steel from the blade, not by “realigning the edge.”
In this, Part 2, I will show that the same steel removal processes occur even in the extreme case of the “soft” steel of a card scraper treated with a smooth burnishing rod.
For these experiments, I purchased two card scrapers; a Crown 375 and a Bahco 474 as well as a Crown 20260 Burnisher. In all cases, the scrapers were refreshed and squared (jointed) with Atoma diamond plates, 140, 400 and finishing on the 1200 grit.
There are a variety of articles and videos describing different methods for preparing a card scraper. I don’t pretend to be any more than an occasional woodworker, and I only use this topic to demonstrate the effect rubbing a smooth steel rod on the edge of another piece of steel. I apologize in advance if write anything about card scrapers that is controversial. This article is not intended to be a “how to” lesson in sharpening a card scraper, although it does provide a great deal of insight into the process.
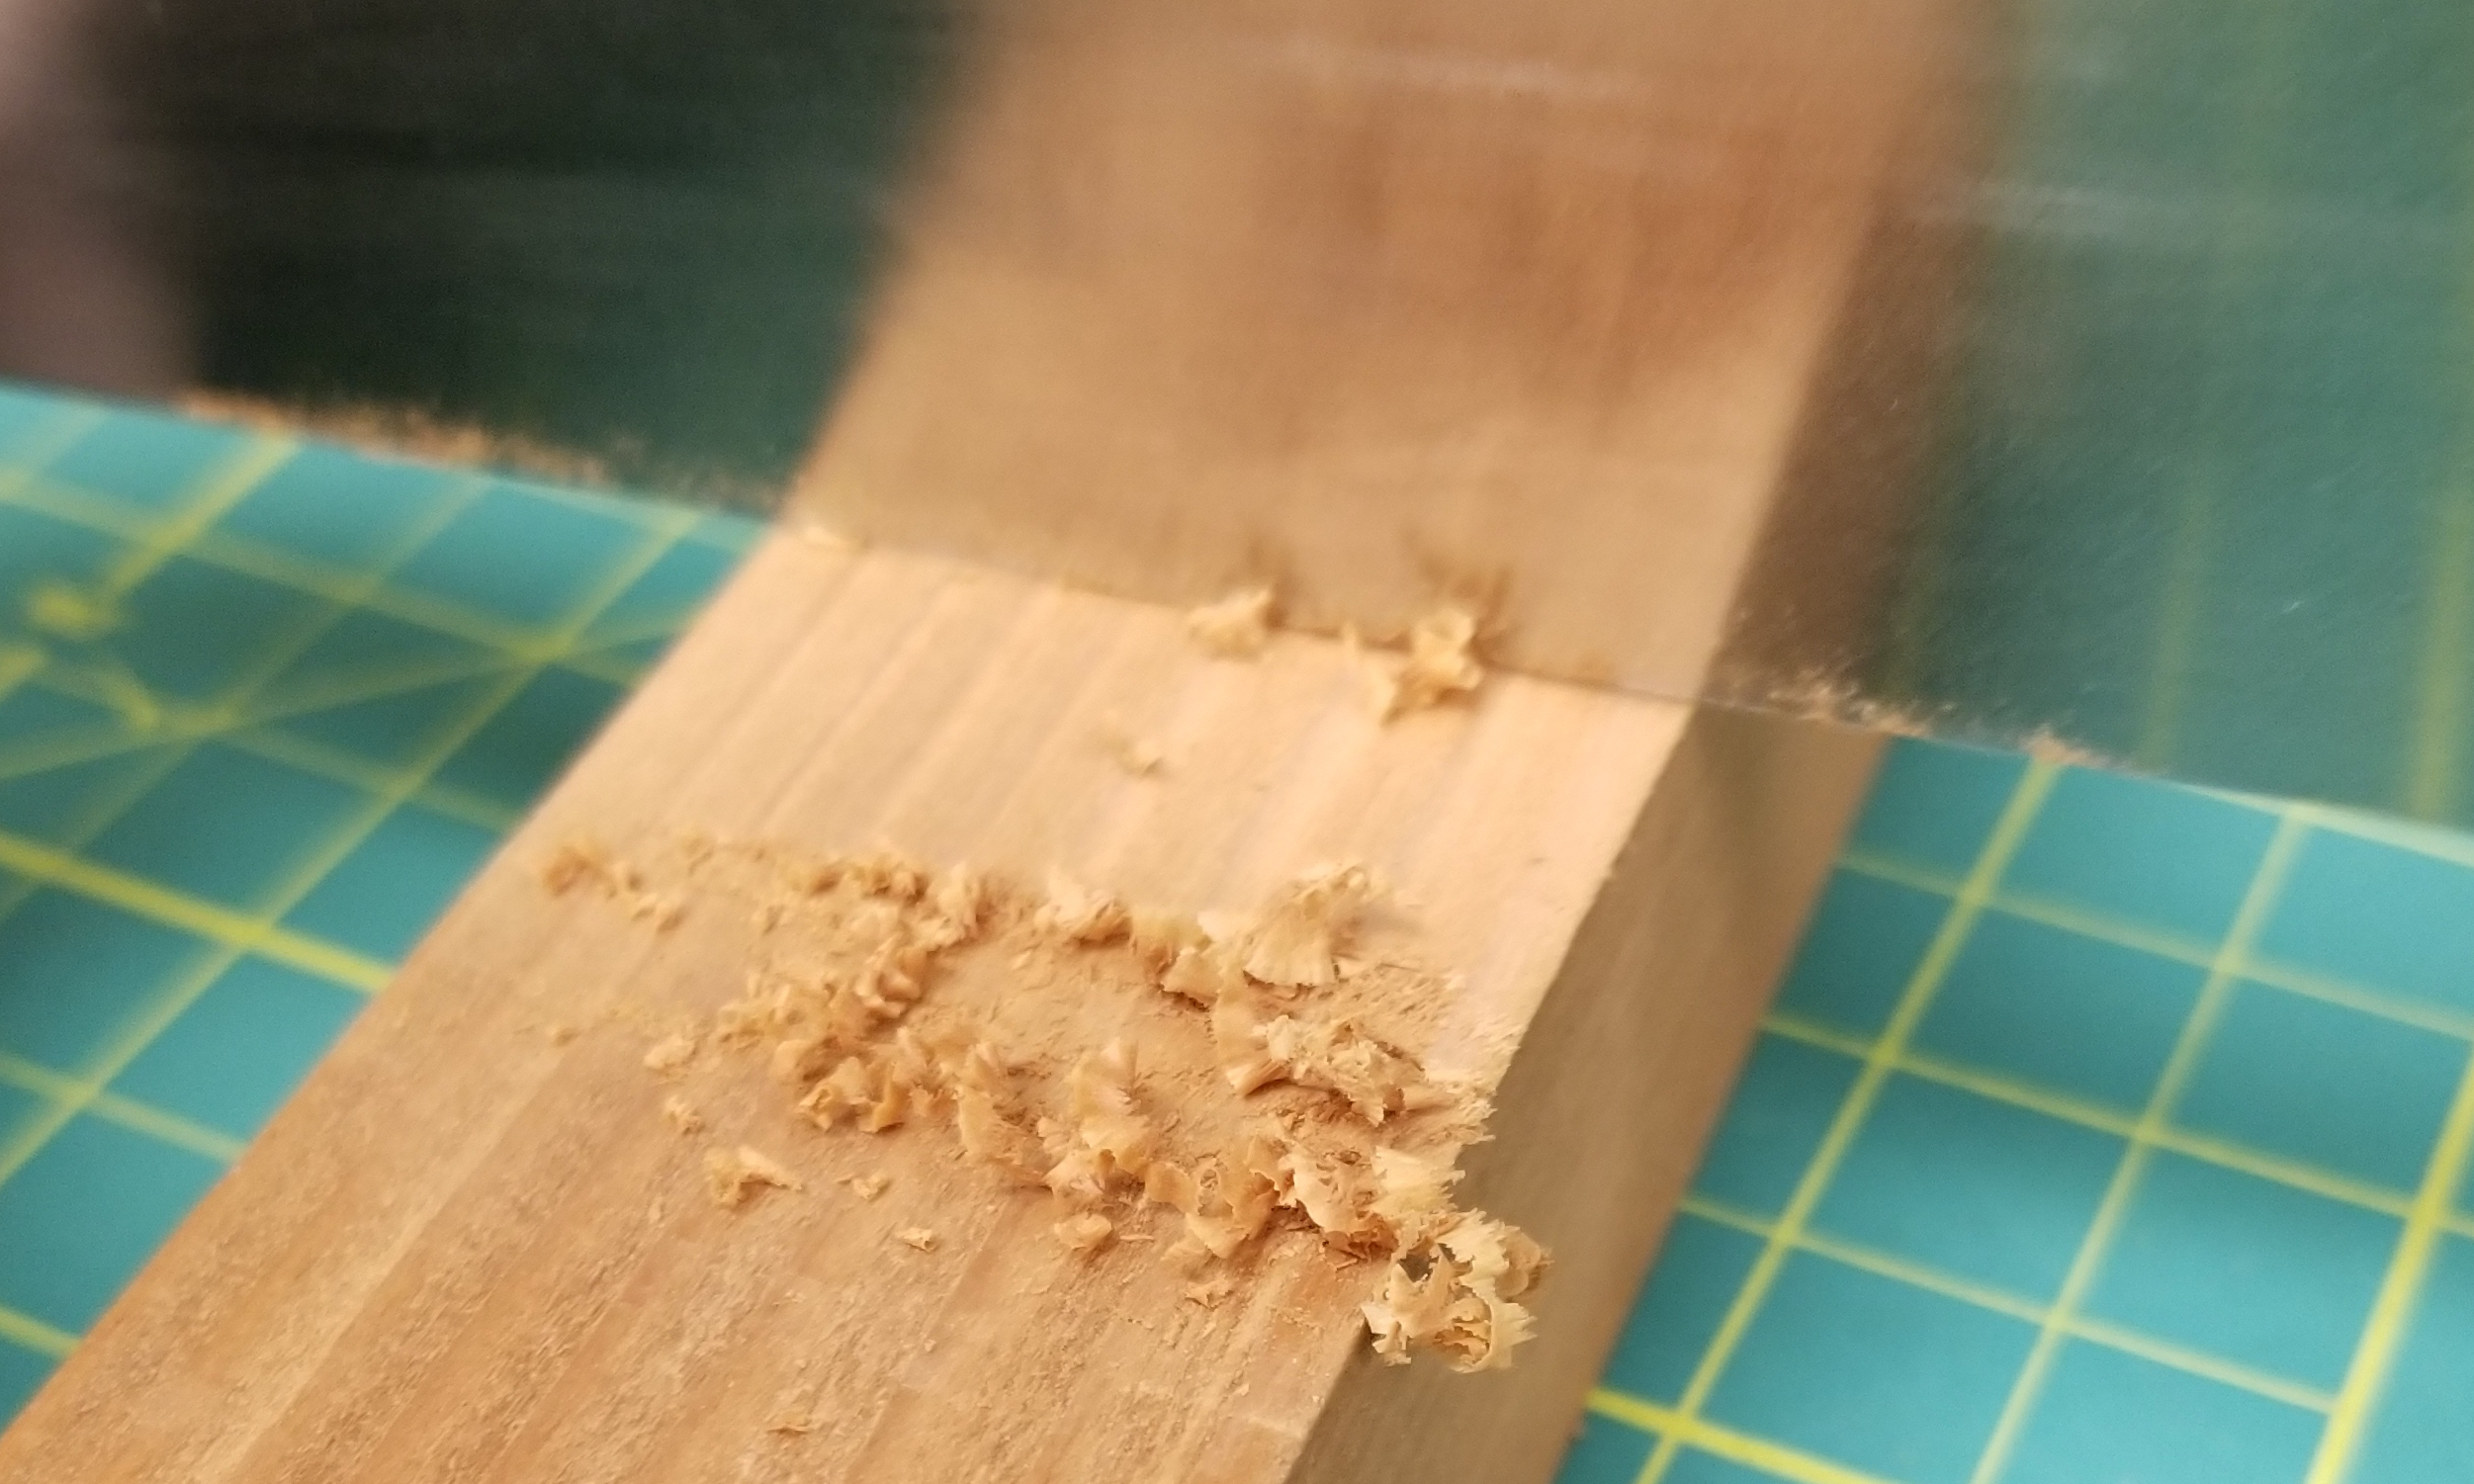
When suitably prepared, a card scraper has a relatively keen apex oriented near perpendicular to the face. Scraping the edge across the surface of the wood at an angle brings this apex into contact with the wood and can plane away shavings just a single wood fiber thick.

Forming an apex on a card scraper is typically a 3-step process. First, a new square edge is formed with a file and/or sharpening stone. In all of the examples here, I have used Atoma diamond plates.

I will show two “attempts” at preparing the card scraper. The first, using too little pressure does not work. The second, using “normal” pressure, works well. I will describe these attempts as “unsuccessful” and “successful” based on both microscopic observations and actual use. There are certainly many ways to produce a weak and poor-cutting burr besides applying too little pressure.
After jointing the edge, the second step is to “draw out a burr” by applying the smooth steel burnishing rod to the edge at a slight angle to the face. With just a few gentle strokes, the steel is deformed, pushing the corner down and out to form a burr. Comparison to the reference marks shows that no observable quantity of steel has been removed, the relatively soft steel has simply been deformed to create a somewhat triangular burr. The “apex” of this burr is essentially the corner created by jointing.

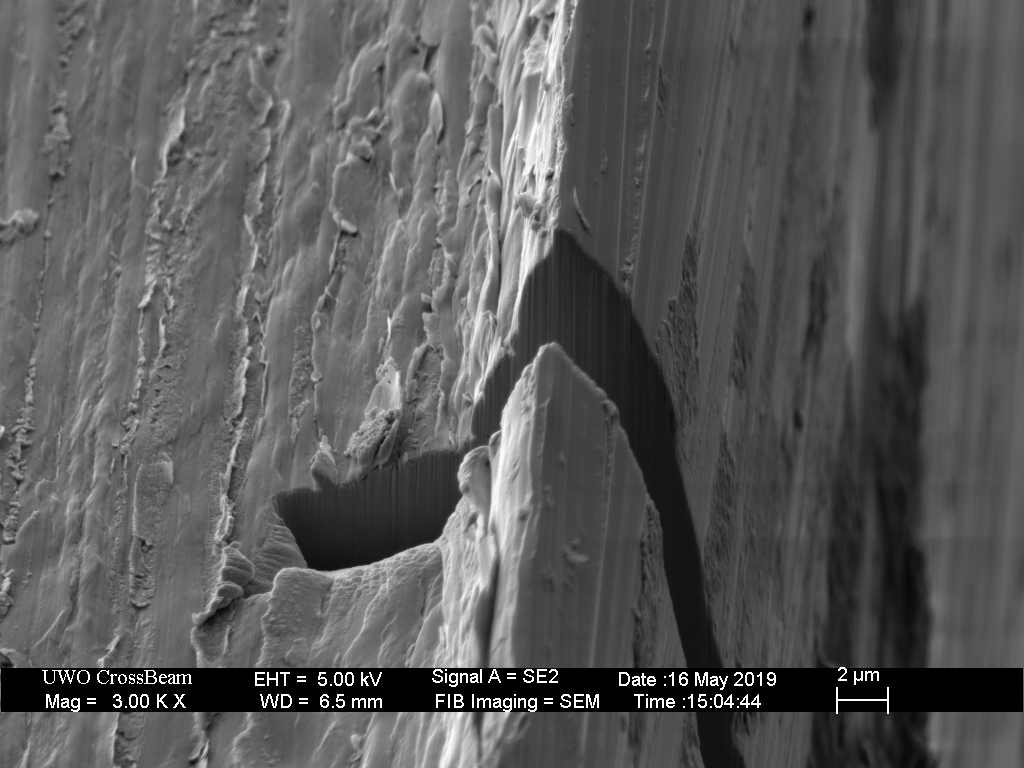
The third and final step is to “turn the burr” to orient it perpendicular to the face (or up in these images) by burnishing the edge at a slight angle. Again, in this first demonstration, I have used lighter than normal strokes to show that the burr forming and turning occurs readily. In the example shown below, the “apex” has been turned too far even with light strokes.

When forming the apex with light strokes, an easily detectable burr is created; however, it is very weak, breaking off within a few strokes and producing little more than dust in actual use. In this example, it is can be observed that the apex has rolled too far, curling towards the face. With no keen edge to engage the wood, the burr does not cut and is simply ripped away by the surface of the wood (not shown). The remaining edge may still be a passable scraper, particularly for finish removal.

The next set of images demonstrate a “successful” preparation of the edge, applying a handful of strokes using 1 or 2 pounds of force with the burnisher. Again, it is not my intention to claim this is the only correct method.
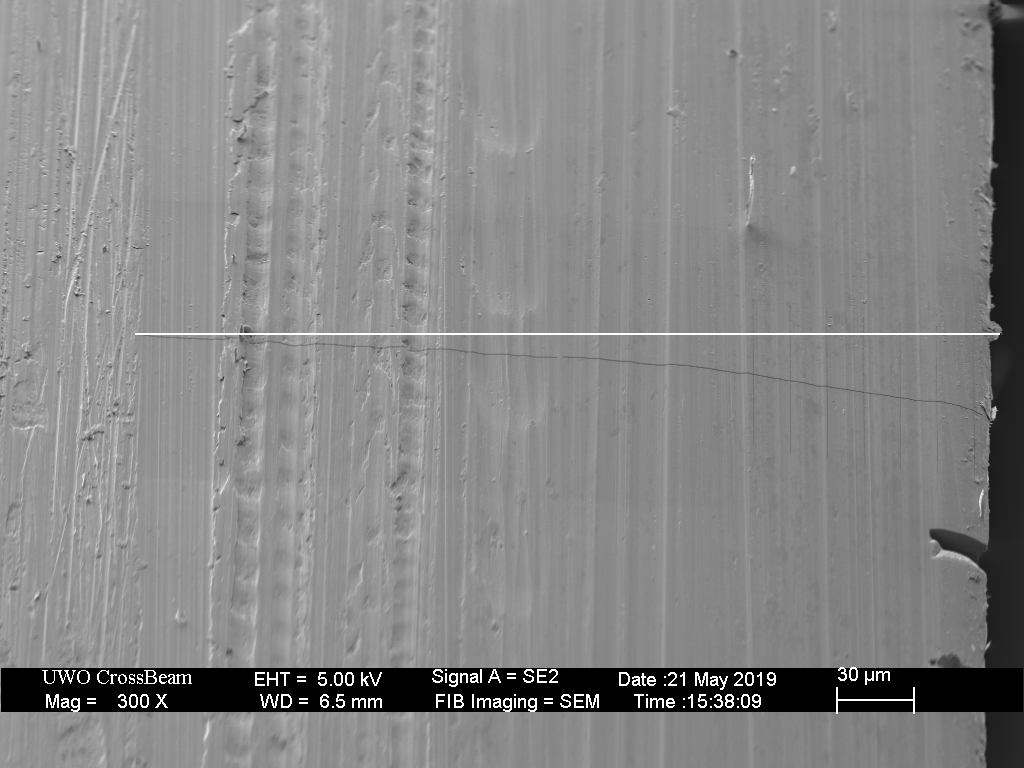
The SEM images show that burnishing polished a bevel into the card face, within approximately 250 microns from the edge. It is apparent that the displacement of the surface is not entirely due to forming the burr, but in fact metal has been removed in forming the bevel.
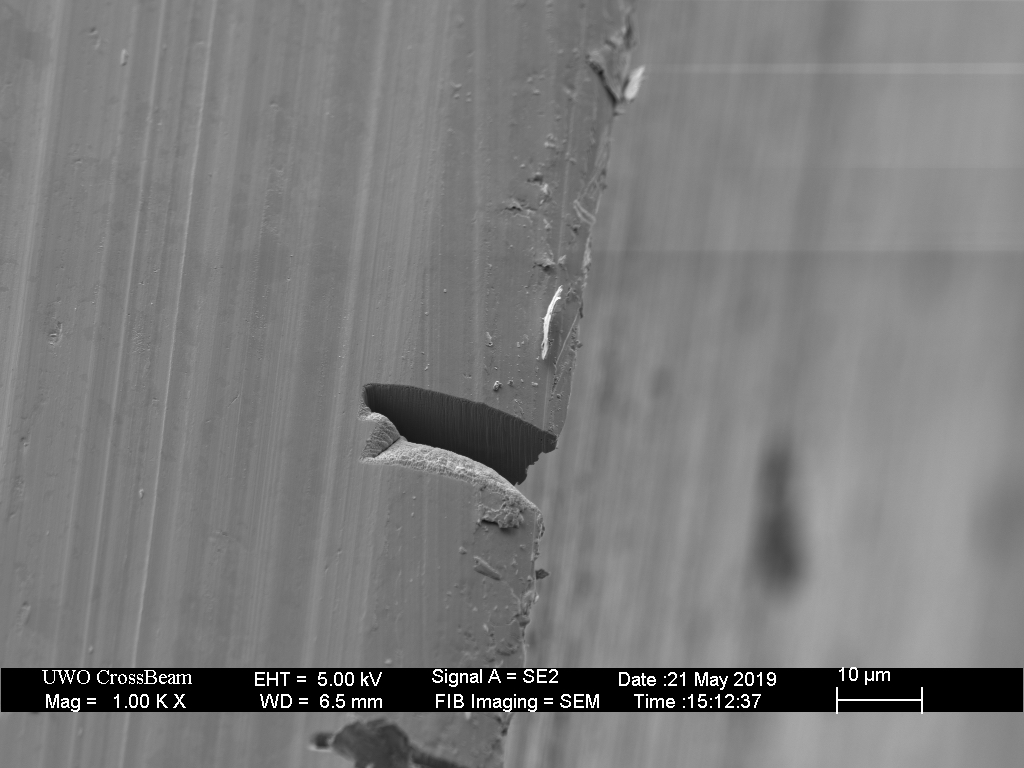
The third step, burnishing the edge, at a slight angle towards the face “turns the burr upwards”. The SEM clearly shows a blade-like bevel has been formed, perpendicular to the card face. However, rather than simply turning the burr, metal has been reformed, and the burr has buckled rather than rotating. Additionally, the burnishing rod has honed the side of the bevel, removing metal just as a honing rod removes metal to restore a knife edge.


The reference lines in the image below show original surface position vs the burnished/honed position. There is absolutely no doubt that metal has been removed. Additionally, some of the removed metal swarf is still sticking to the scraper.


There are a fundamental difference between the successful and unsuccessful sharpening. The incorrectly formed burr takes its apex from the corner formed by jointing. This steel is both irregular and weak. The correctly formed burr takes its apex from the smoothly burnished steel and its keenness from the honing action of the burnisher on one side. This steel “burr” is both regular and stout.
Below are few more examples of scraper burrs. The first pair of images show a burr curled too far and with a poorly formed apex and then the same burr after a few strokes on redwood, where the burr is largely torn off.


For comparison, the image below shows a well-formed burr after some use, but still functional. The apex shows some wear, reminiscent of that observed when stropping a razor on clean linen.

Preparing the scraper edge is a complex process, as both deformation and metal removal occurs, and the balance between these processes determines the result.

13 responses to “What Does Steeling Do? Part 2 : The Card Scraper”
Another interesting article. Thanks for taking the time to share, Todd! It’s always a pleasure to read a new installment.
LikeLiked by 1 person
Well put, it is fantastic stuff.
LikeLike
I’ve been waiting almost a year to see what you released next! Great work!
LikeLike
Thanks fore the great article.
LikeLike
Thank you. I’ve just re burnished my DIY saw blade scraper a few days ago. As I understand you can pass the burnisher over the wide flat face to flatten the edge and re burnish it a few times without squaring.
LikeLike
Yes, this is the same principle by which we can repeatedly hone a knife with a honing rod.
LikeLike
Absolutely fantastic articles, very happy to have found this website. Thank you!
LikeLike
I can feel this is building up to something interesting. The burnishing effect of a smooth polished steel on a knife edge?
Looking forward to part 3!
LikeLike
Again, excellent !
LikeLike
As someone who is a much more than casual woodworker, and primarily uses hand tools, this article was a pleasant surprise. I personally believe card scrapers to be a highly undervalued tool by many woodworkers. Again, you are dispelling some myths about how honing steels work, no matter where they are applied.
LikeLike
Many (most?) people that prepare a card scraper edge oil before proceeding. One can feel the adhesion if you don’t oil first. Never thought of adhesion as being a good thing and I strived to avoid it. Maybe it is beneficial to a card scraper….or not?
LikeLike
I do put a very light layer of honing oil on my burnisher but I’ve seen no evidence that it affects the adhesive wear that occurs on a blade when steeling. In general, I believe the value of lubricant is not so much to affect adhesion and transfer as to prevent that transfer metal from building up on the hone or rod.
LikeLike
thank you for reply. Indeed with an oil film it does not feel like “sand” on the burnisher
LikeLike